5 Ways To Customize Your Apple Watch : For individuals who use the Apple Watch, its potential to enhance their daily routines is unparalleled. With a range of features designed to streamline tasks and promote hands-free convenience, it has the capability to significantly optimize their lives. However, many users may not realize that they can personalize their experience beyond the default settings and accessories.
Beyond discovering the most beneficial apps for their specific needs, users can explore accessories that complement their Apple Watch usage. While the watch’s square shape and size options remain unchanged, there are still numerous opportunities to customize its appearance and functionality. Whether you’re a newcomer to Apple Watch ownership or a seasoned user seeking new insights, here are some methods to tailor your device to better suit your lifestyle.
Switch around your Apple Watch bands
One immediate way to alter the appearance of your Apple Watch is by simply changing its bands. While the default bands that come with the Apple Watch are sturdy and functional for most users, they might not always provide the desired aesthetic appeal. Luckily, there’s a wide array of official Apple bands or third-party alternatives that can significantly enhance the visual appeal of your Apple Watch.
Nowadays, there’s a diverse selection of Apple Watch band styles available for you to interchange as needed. For instance, you could opt for a sports band when engaging in outdoor activities or workouts. For a more professional look, leather or stainless steel bands are suitable choices. Additionally, if you’re aiming for a more formal setting such as a date night, Casetify offers chain bracelets in black, gold, silver, and rose options, seamlessly integrating your Apple Watch into elegant attire alongside fine jewelry.
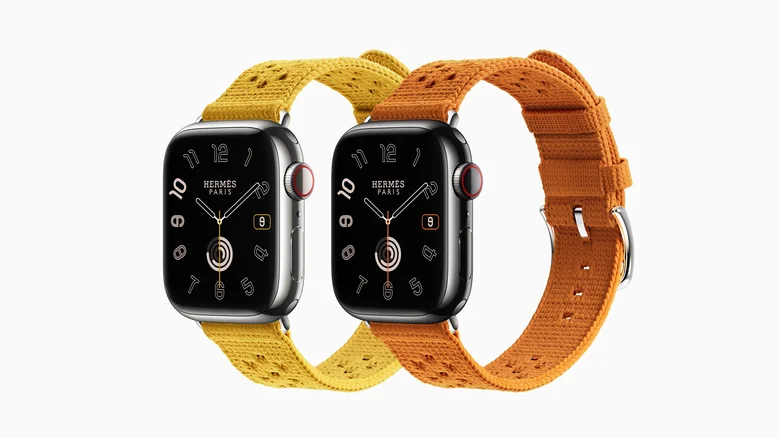
For those who prioritize brand recognition, there’s no shortage of designer Apple Watch bands from renowned names like Kate Spade, Michael Kors, and Coach. Furthermore, if you’re in a higher income bracket, you might be intrigued by the Apple Watch Hermès collaboration. Available at select Apple Hermès stores, these luxury Apple Watch bands start at over $1,200 and come in 12 distinct designs.
Change your Apple Watch face
After securing the suitable Apple Watch bands to suit your preferences, it’s crucial to complement them with compatible watch faces. Given that the face constitutes the predominant visual element of your Apple Watch, it’s likely to be the first aspect that catches attention. To explore the array of available Apple Watch faces, open the Watch app on your iPhone and tap “Face Gallery” situated at the bottom middle of the screen.
Within the Face Gallery, numerous watch face options await, ranging from sporty, minimalist, to illustration-based designs. Once you’ve singled out your preferred Apple Watch face, simply tap it to customize its appearance. Should the pre-installed faces on the Watch app fail to satisfy your preferences, you can expand your options by downloading third-party apps. In case you feel overwhelmed by the choices, we’ve compiled a list of top Apple Watch face apps for your consideration.
The extent of customization options may vary depending on the chosen watch face, but typically includes alterations to color, character, or collection theme. Once you’ve settled on your desired Apple Watch face, you can easily add it by selecting the preferred design in the Face Gallery and tapping “Add” located at the bottom of the face name.
Create complications
One of the lesser-known features for Apple Watch users is the ability to create complications, which act as personalized additions to your Watch face. According to Apple, a complication is a tool that presents timely and pertinent information directly on the watch face, visible whenever you raise your wrist. While the quantity of complications available depends on the chosen face layout, Apple indicates that most faces support at least one, with some layouts accommodating up to four. To explore available complications for each Watch face, follow these steps:
- Open the Watch app on your iPhone.
- Tap “Face Gallery” located in the lower middle of the screen.
- Choose your desired Watch face.
- Scroll down to the Complications section at the bottom of the screen.
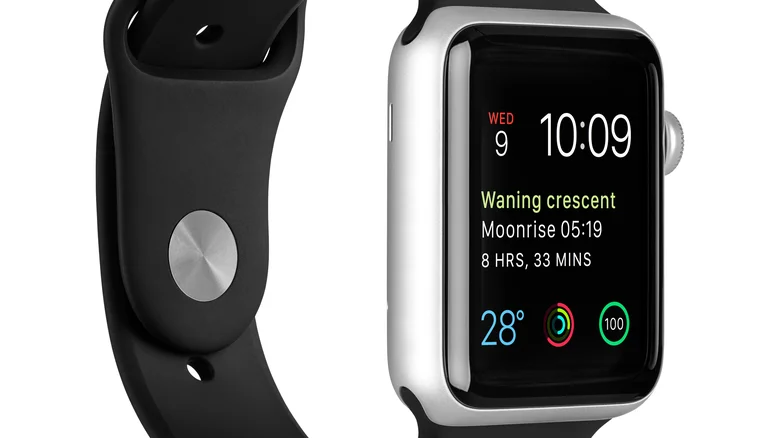
For instance, in the depicted Watch face example, you can include up to four complications. Some suggested complications to consider are world clocks, weather updates, compass waypoints, and even camera remote capabilities. Additionally, you can tailor complications for specific activities; for instance, swimmers might find water temperature and depth more pertinent than the average user. However, it’s essential to be mindful when adding complications, as certain options such as Cycle Tracking may not be suitable for public display.
Notifications
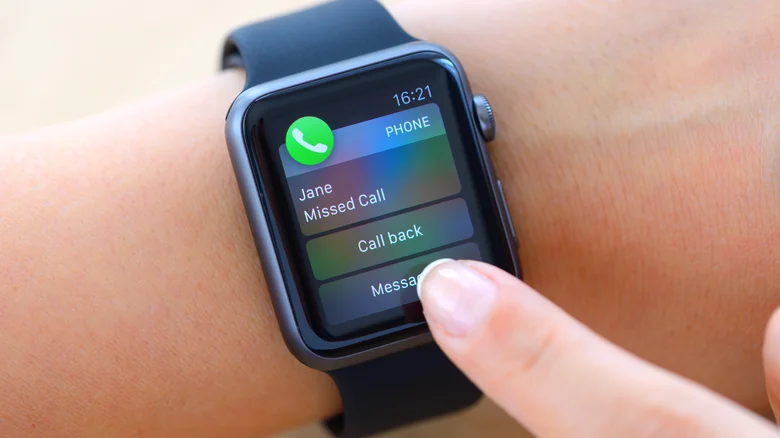
While many individuals appreciate the freedom from their phones that comes with owning an Apple Watch, not everyone enjoys the persistent stream of notifications, even if they’re just represented by a small red dot. Fortunately, you can easily tailor your Apple Watch notifications to alleviate anxiety or limit them to only the most crucial ones. Here’s how:
- Open the Watch app on your iPhone paired with your Apple Watch.
- Tap “My Watch” in the lower-left corner of the screen.
- Choose “Notifications.”
- Select the app you wish to manage notifications for.
- Pick your preferred notification style, which may vary depending on the selected app. Options include “Allow Notifications,” “Send to Notifications Center,” or “Notifications Off.”
Additionally, depending on the app, you might have further customization options for your Apple Watch notifications. For instance, if you have multiple email accounts linked to your iPhone’s Mail app, you can opt to receive notifications only from a specific email address on your Apple Watch. Moreover, if you’re concerned about privacy and prefer to keep sensitive information hidden, you can disable the quick summary feature from your Apple Watch notifications. Alternatively, you can utilize the silent vibrate-only alarm feature for a more subtle reminder when wrapping up activities.
Move your apps around
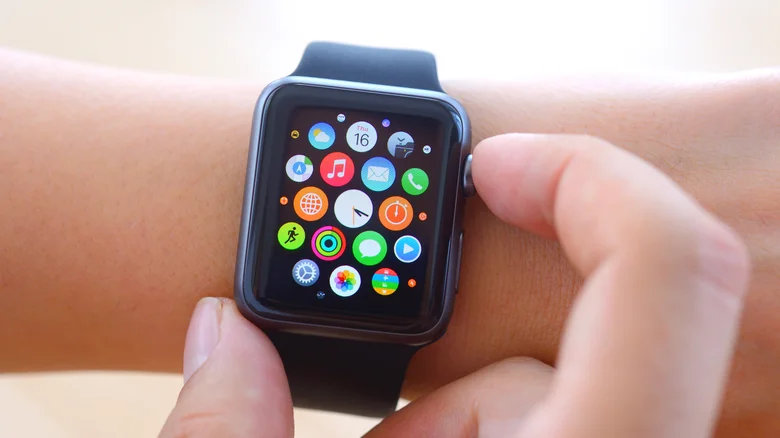
To efficiently locate the most relevant apps on your Apple Watch, you have two options: you can organize them directly on your Watch face or utilize the Watch app on your iPhone.
Here’s how to rearrange apps on your Apple Watch:
- Access your Home Screen on the Apple Watch.
- In the Grid view, press and hold the app you wish to relocate.
- Drag the app to your desired position.
And here’s how to rearrange Apple Watch apps on your iPhone:
- Open the Watch app on your iPhone.
- Tap “My Watch” located on the lower-left side of the screen.
- Choose “App View” > “Arrangement.”
- Press and hold the app icon you want to reposition.
- Drag the icon to where you want it placed.
Beyond organizing your existing apps, consider downloading apps tailored to your lifestyle. For instance, if you’re a frequent traveler, explore apps for travelers or safety on the road. There are also apps designed to assist with stress management, finance, and hydration.
Alternatively, you can remove apps that no longer serve you and only contribute to clutter on your Apple Watch. To do this, press and hold the app icon, then tap the X to uninstall it. In list view, swipe left and tap the trash can icon to remove it.
Manage your Apple Watch workout settings
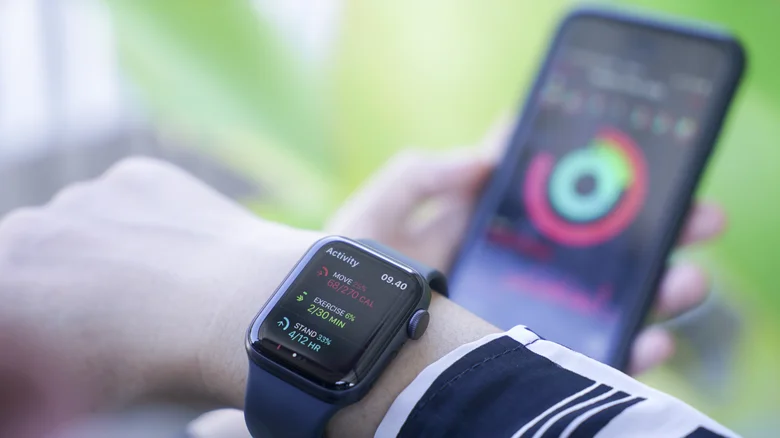
For numerous Apple Watch users, the Activity rings offer a means to enrich their fitness and exercise endeavors. To optimize the management of your Apple Watch Activity rings, you can adjust your move, exercise, and stand goals to progressively challenge yourself, and keep track of your activity reminders.
If you engage in regular workouts, it might be beneficial to incorporate them into your Apple Watch for easier monitoring. Simply access the Workout app on your device, navigate to the bottom, and select “Add Workout.” Additionally, for specific sports where certain metrics hold greater significance, you can prioritize them to display on your Apple Watch face.
For individuals who prioritize their workout routines, establishing a dedicated Focus mode can be advantageous, ensuring that non-fitness apps won’t disrupt your sessions. Furthermore, setting up safety features like ECG recording and crash detection on your Apple Watch can transform it into a valuable tool during emergencies.